Table of Contents
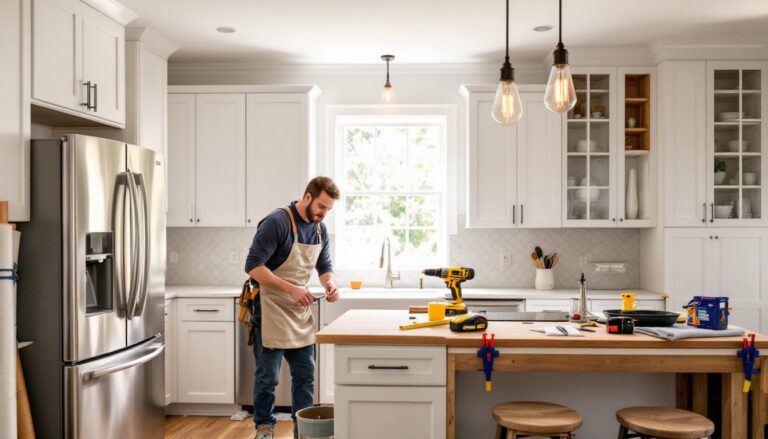
ToggleCarving out dedicated creative space in a small home isn’t just wishful thinking, it’s a practical necessity for remote workers, artists, and anyone who needs a functional workspace without the square footage to spare. A tiny home studio maximizes every inch, turning corners, closets, or underused rooms into productive zones. Whether it’s for painting, recording music, crafting, or running a side business, the right layout and design choices make all the difference. This guide walks through planning, design, and budget-friendly builds to help anyone transform a compact area into a studio that actually works.
Key Takeaways
- A tiny home studio is a dedicated workspace of 50–150 square feet that requires purposeful planning, zoning, and proper equipment rather than structural renovations, making it ideal for renters and homeowners alike.
- Prioritize the three essential design elements—adequate lighting (800+ lumens), a sturdy work surface, and climate control—to transform a compact space into a functional studio.
- Vertical storage through pegboards, floating shelves, and wall-mounted solutions is critical in a tiny home studio, as walls do the heavy lifting when floor space is limited.
- Measure your space precisely, outline furniture placement with painter’s tape, and set your top three non-negotiables before purchasing anything to avoid costly mistakes.
- Budget-friendly DIY projects like fold-down desks, pegboard tool walls, and mobile storage carts can equip a tiny home studio for $30–$70 per project.
- Proper ventilation and climate control, especially in uninsulated garages or attics, prevent a tiny studio from becoming unusable during extreme weather.
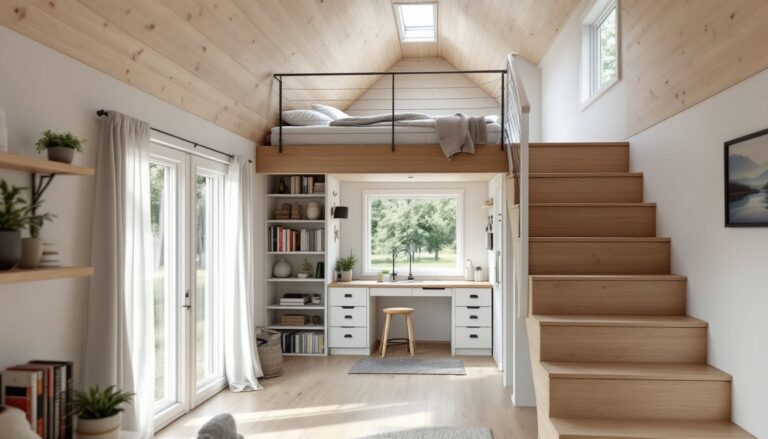
What Is a Tiny Home Studio and Why You Need One
A tiny home studio is a dedicated workspace carved from a compact area, typically 50 to 150 square feet, designed for creative or professional work. It’s not just a desk shoved in a bedroom corner. It’s a purposefully zoned space with boundaries, even if those boundaries are visual rather than structural.
The appeal is straightforward: separation. Working or creating in shared living areas invites distraction and clutter. A studio, even a tiny one, signals focus. It keeps supplies contained, projects in progress, and the mental shift from home mode to work mode clearer.
Common setups include converted closets, basement corners, garage sections, attic nooks, or partitioned areas within a larger room. The size matters less than the intention. If it’s outfitted with the tools, lighting, and storage needed for a specific task, and it’s treated as off-limits for laundry piles or junk mail, it qualifies.
For renters, this flexibility is key. Most tiny studios don’t require structural changes. A folding desk, pegboard walls, and thoughtful furniture placement can create a studio that disappears when the lease ends. Homeowners have more freedom to add built-ins, soundproofing, or electrical upgrades, but the core principles remain the same: define the space, equip it properly, and protect its purpose.
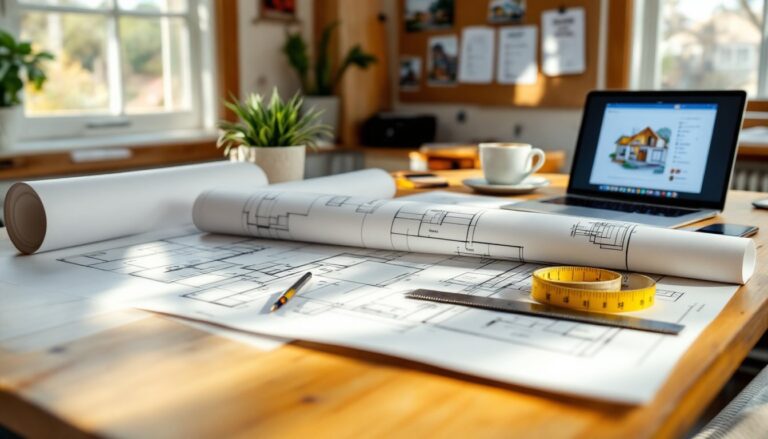
Planning Your Tiny Home Studio Layout
Before buying a single shelf or paint can, map the space on paper. Tiny studios fail when they’re crammed with good intentions and no plan. Start by identifying the room’s constraints: door swing, window placement, outlets, and any immovable features like radiators or ductwork.
Zoning is critical. Even in 60 square feet, break the studio into functional zones: primary work surface, storage, and circulation. Circulation, the path you take to move around, often gets ignored in small spaces, leading to layouts where you’re constantly climbing over a chair to reach supplies.
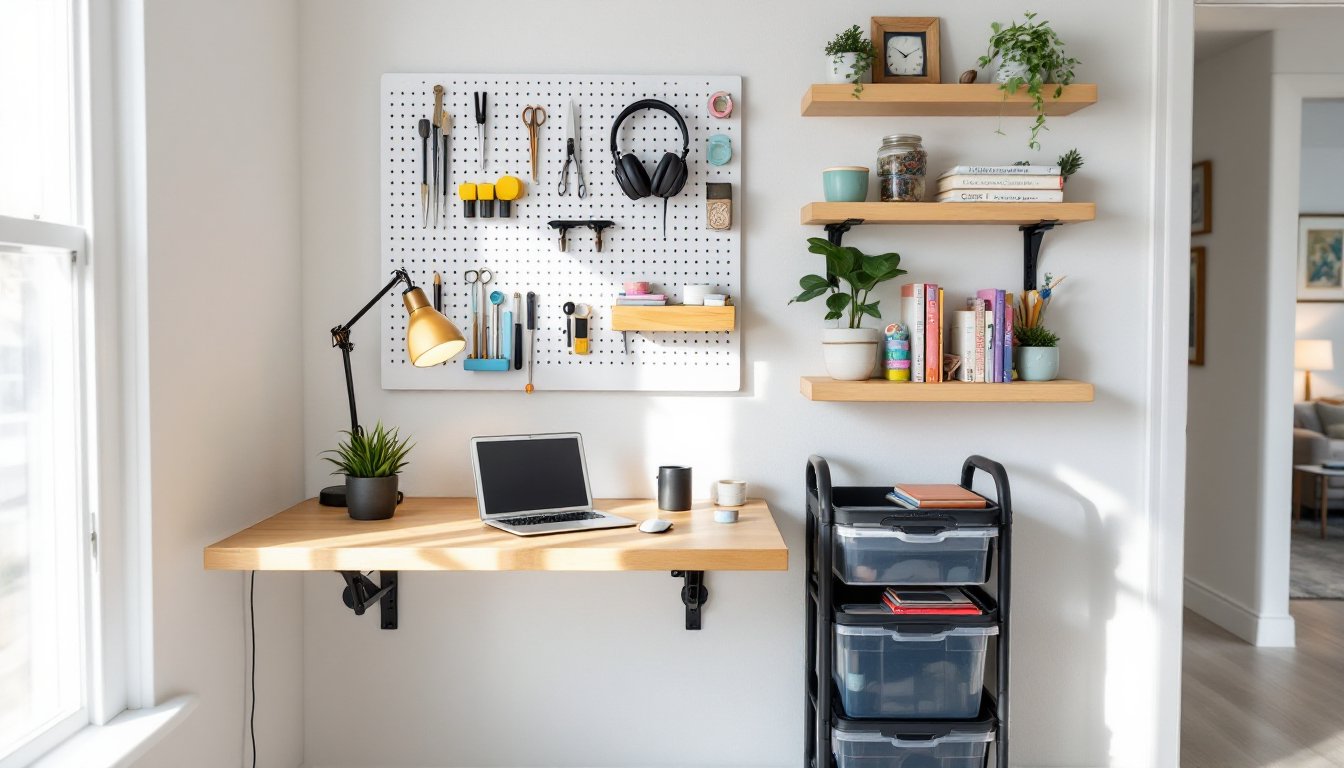
Consider vertical space from the start. In a tiny studio, walls do the heavy lifting. Plan for shelving, pegboards, or wall-mounted desks before floor space fills up. A 24-inch-deep desk against one wall leaves room for a rolling cart or stool, but a 30-inch desk in the same spot might block access entirely.
If the studio will house messy work, painting, woodworking, pottery, flooring matters. Existing carpet should be protected with a drop cloth or replaced with peel-and-stick vinyl tiles (around $1–$3 per square foot). Concrete basement floors can stay as-is or get a coat of epoxy garage floor paint for easier cleanup.
Many small space design strategies emphasize multipurpose furniture, which works well here. A fold-down wall desk, for example, can disappear when not in use, freeing floor space for yoga, photography setups, or gear storage.
Measuring Your Space and Setting Priorities
Grab a 25-foot tape measure and record three dimensions: length, width, and ceiling height. Ceiling height matters more than people expect. A 7-foot ceiling limits tall shelving units but works fine for seated tasks. A 9-foot ceiling opens up options for overhead storage racks or lofted surfaces.
Mark outlet locations on your sketch. Studios need power, and extension cords across walkways are a trip hazard. If outlets are scarce, plan for a surge-protecting power strip mounted to the wall or underside of the desk. For studios involving electronics, audio gear, or multiple devices, consider having an electrician add a dedicated 20-amp circuit. This isn’t required for general use but prevents breaker trips during intensive work sessions.
Set priorities based on how the studio will actually be used. A podcast recording setup needs acoustic treatment and a solid desk for a microphone arm. A sewing studio needs a large cutting table and thread storage. A painting studio needs an easel zone, natural light, and ventilation. Write down the top three non-negotiables, then design around those.
Measure furniture and storage pieces before buying. A 48-inch workbench sounds reasonable until it arrives and blocks the door. Use painter’s tape on the floor to outline furniture footprints. Live with the taped layout for a day or two. If you’re constantly stepping over tape lines, the real furniture will be worse.
Essential Design Elements for Maximum Functionality
Functionality in a tiny studio hinges on three elements: lighting, work surface, and climate control. Get these right, and the space becomes usable. Skimp on them, and it stays a junk closet with a chair.
Lighting is non-negotiable. Overhead fixtures rarely provide enough task light for detail work. Add a desk lamp with adjustable arm (look for 800+ lumens and a color temperature between 4000K and 5000K for neutral white light). For larger studios or those without windows, a plug-in LED shop light mounted overhead works well. These typically draw 40 watts, provide 4000+ lumens, and cost $25–$50.
If the studio relies on natural light, position the work surface perpendicular to the window to avoid glare on screens or reflective surfaces. North-facing windows offer the most consistent light without harsh shadows, though that’s often out of the user’s control.
Work surfaces should be sturdy and sized to the task. A 24×48-inch folding table works for light crafts or computer work. Heavier tasks, cutting fabric, assembling models, printmaking, need a solid-core door (around $40 from a home center) laid across two filing cabinets or sawhorses. Solid-core doors are flat, heavy, and won’t sag under weight. Sand the edges, seal with polyurethane, and you’ve got a work surface for under $100.
For modern studio setups where aesthetics matter, a wall-mounted butcher block countertop (available in 6- to 8-foot lengths) makes a clean, durable desk. Secure it to wall studs with heavy-duty brackets rated for the span. Typical 1.5-inch-thick butcher block can span 48 inches with support every 32 inches without sagging.
Climate control is easy to overlook until the studio becomes a sweatbox in summer or an icebox in winter. Uninsulated garages and attics are the worst offenders. If the studio is in conditioned space, a small desk fan or space heater usually suffices. For garages, consider adding batt insulation (R-13 for walls, R-30 for ceilings) and a ductless mini-split if the budget allows (around $1,500–$3,000 installed). Cheaper options include portable air conditioners (which need window venting) and electric oil-filled radiators.
Ventilation matters for any work involving fumes: soldering, painting, gluing, resin casting. At minimum, crack a window and use a box fan to push air out. Better: install a window exhaust fan or range hood vented to the exterior. This might require cutting a vent hole through an exterior wall, check local building codes first, as some jurisdictions require permits for exterior penetrations.
Smart Storage Solutions That Don’t Sacrifice Style
Storage is where tiny studios live or die. The goal isn’t to cram more stuff in, it’s to make what’s there accessible without visual chaos.
Pegboard remains the gold standard for wall storage. A 4×8-foot sheet of 1/4-inch pegboard costs around $15–$20. Mount it with 1-inch spacers behind to allow hooks to fit. Pegboard works for tools, headphones, scissors, rolls of tape, anything that hangs. Paint it to match the wall color, or go bold with a contrasting accent.
Floating shelves keep floor space clear. Use 10- or 12-inch-deep shelves for books and bins: shallower shelves (6 inches) work for small supplies. Always anchor to wall studs with appropriate screws, drywall anchors fail under repeated weight. For a typical 1×10 board (actual dimensions: 3/4×9.25 inches), space brackets every 32 inches.
Rolling carts bring flexibility. A three-tier metal utility cart (around $30–$60) can hold art supplies, electronics, or tools and tuck under a desk or into a closet when not needed. This is especially useful if the studio shares space with another function.
For those who appreciate organized, clutter-free spaces, clear storage bins with labels beat opaque bins every time. Being able to see contents without opening a dozen boxes saves time and frustration.
Drawer organizers and bin inserts prevent small items, drill bits, paintbrushes, USB cables, from becoming a jumbled mess. Spend the extra $10 on dividers. It’s worth it.
Avoid open shelving for messy supplies (paint cans, adhesives) unless you’re disciplined about keeping them tidy. Closed cabinets or curtained alcoves hide clutter while keeping it accessible.
Budget-Friendly DIY Projects to Transform Your Studio
A functional tiny studio doesn’t require a full renovation or a four-figure budget. These DIY projects deliver big impact without complex carpentry or expensive materials.
Build a wall-mounted fold-down desk. Use a 3/4-inch plywood sheet cut to size (typically 24×36 inches or 20×48 inches depending on space). Attach piano hinge along one edge, secured to a 1×4 ledger board fastened to wall studs. Add folding shelf brackets underneath for support when open. When closed, the desk hangs flat against the wall. Total materials: $40–$70. Use a circular saw or have the home center make cuts. Sand edges smooth and finish with paint or stain and polyurethane.
Install a pegboard tool wall. Cut 1/4-inch pegboard to fit the available wall space. Rip 1×2 furring strips into 1-inch spacers, attach them horizontally to the wall studs every 16 inches, then screw the pegboard to the spacers. Prime and paint before mounting hooks. Cost: $25–$40 for an 8-foot section. Wear safety goggles and a dust mask when cutting.
Create a platform riser for under-desk storage. If the studio has low clearance or the work involves sitting, build a shallow platform (4 to 6 inches high) from 2×4 framing and a 3/4-inch plywood top. This raises the work surface and creates hidden storage underneath for flat items like portfolios, mats, or laptops. Frame the platform with 2×4s on edge (actual size: 1.5×3.5 inches), spaced 16 inches on center, then screw down the plywood deck. Cost: $30–$50 for a 4×6-foot platform.
Add task lighting with plug-in LED strips. Adhesive-backed LED tape (available in 16-foot rolls for $15–$30) sticks under shelves or along the underside of upper cabinets. Choose daylight or cool white (5000K–6500K) for work areas. These plug into standard outlets and often include a dimmer or remote. No wiring skills required.
Build a simple mobile storage cart. Use a 1×12 pine board (actual size: 3/4×11.25 inches) cut into three 24-inch shelves. Connect them with 1×2 side rails and wood glue plus 1.25-inch brad nails or screws. Attach locking caster wheels at each corner (choose 2-inch wheels for smooth rolling). Sand, prime, and paint. Cost: $35–$55. A miter saw gives cleaner cuts, but a hand saw and miter box works if that’s what’s available.
Soundproof on a budget. For studios used for recording or loud hobbies, acoustic foam panels help, but cheaper alternatives include heavy moving blankets hung on walls or a DIY fabric-wrapped frame filled with Roxul Safe’n’Sound insulation (an affordable mineral wool product). Build simple 2×4 frames, staple fabric over one side, fill with insulation, staple the back, and hang. Each panel costs $10–$15 in materials.
Safety reminder: Always wear appropriate PPE. Safety goggles for any cutting or drilling, hearing protection when using power saws, a dust mask or respirator for sanding or painting, and work gloves when handling lumber or metal. Keep a small fire extinguisher in the studio if working with heat tools, soldering irons, or flammable materials.
Conclusion
A tiny home studio proves that square footage isn’t the limiting factor, intention and planning are. By measuring carefully, prioritizing function, and using walls and vertical space efficiently, even the smallest corner becomes a legitimate workspace. The DIY projects outlined here keep costs reasonable and skills accessible, turning underused areas into productive, organized studios that support real work without taking over the home.